“How to Transfer DTF (Direct to Film) Powder: A Step-by-Step Guide” -MAXDTF- China UV DTF Paper, Direct Transfer UV DTF Paper Manufacturer, Made in China
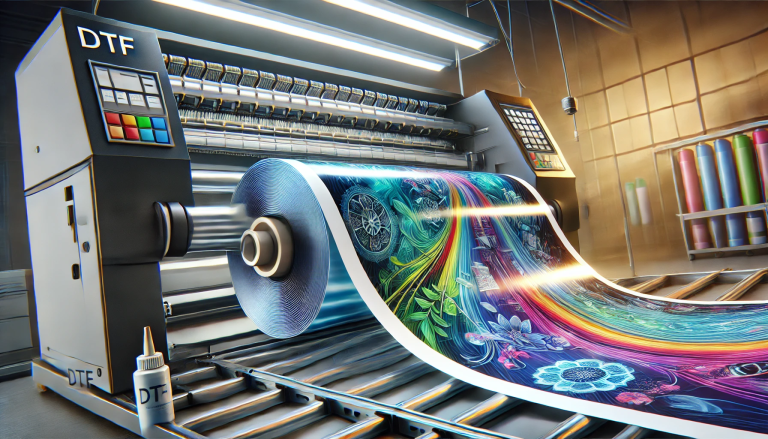
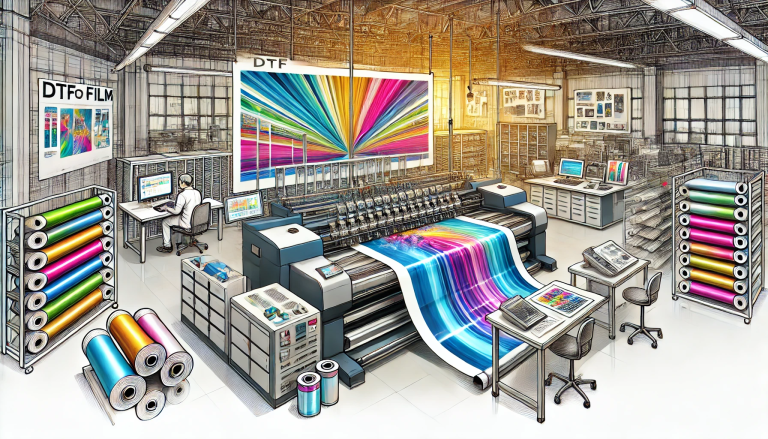
Direct To Film (DTF) printing has revolutionized the printing industry, especially when it comes to apparel printing. One key component of this process is the DTF powder, which is applied to the printed film before being heat pressed onto the fabric. Transferring the powder accurately and uniformly is crucial for achieving the best results. In this blog, we’ll walk you through the step-by-step process of transferring DTF powder.
1. Prepare Your Workspace
Before you begin, ensure you have a clean and organized workspace. Any contamination can ruin the print. Lay out all your tools and materials within easy reach. You’ll need:
- Printed DTF film
- DTF powder
- A powder shaker or spreader
- Heat press or oven
2. Ensure the DTF Film is Dry
Before applying the powder, the ink on the DTF film should be completely dry. If you’re unsure, give it a few more minutes to air dry or use a heat gun.
3. Apply the DTF Powder
There are two popular methods for applying the DTF powder:
- Manual Shaking: Gently sprinkle the DTF powder over the printed area. Ensure there’s a uniform coat over the entire design.
- Using a Spreader: If you have a spreader, you can pour the powder on one end of the film and use the spreader to drag and spread the powder across the design.
4. Remove Excess Powder
Once you’ve applied the powder, shake off the excess. You want only the powder that sticks to the ink to remain; anything extra can affect the final result.
5. Cure the Print
The next step is to cure the print. This can be done in two main ways:
- Heat Press: If you’re using a heat press, set it to the recommended temperature (typically around 330°F or 165°C) and time (usually about 15 seconds). Place the film on the press and apply heat. The powder will melt and form a glossy layer over the ink.
- Oven: Some people prefer using an oven, especially when working with larger prints. Set your oven to the recommended temperature, and allow the print to bake until the powder has melted completely.
6. Transfer to the Garment
Once the print has been cured and cooled slightly, you can transfer it onto your desired fabric or garment. Place the film (design face down) on the fabric, apply heat using a heat press, and then peel off the film. Voilà! Your design is now beautifully transferred.
7. Clean Up
Clean your workspace, ensuring no leftover powder is spilled or wasted. It’s essential to maintain cleanliness for the best results in future projects.
Tips for Successful DTF Powder Transfer:
- Always refer to the manufacturer’s guidelines for the specific DTF powder and inks you’re using.
- Ensure even distribution of the powder for a consistent print.
- Store your DTF powder in a cool, dry place to maintain its effectiveness.
- Practice makes perfect. The more you work with DTF printing, the better you’ll become at gauging the right amount of powder to use and how to apply it best.
In conclusion, while the process of transferring DTF powder might seem daunting at first, with the right tools and techniques, you can achieve professional-grade results. Whether you’re printing for a personal project or a commercial one, the satisfaction of a job well done is unparalleled. Happy printing!


