“A Comprehensive Guide to DTF Transfer: Process, Tips, and Techniques” -MAXDTF- DTF Transfer Film sheet Factory, DTF Transfer Sheets Manufacturer, Made in China
I. Introduction
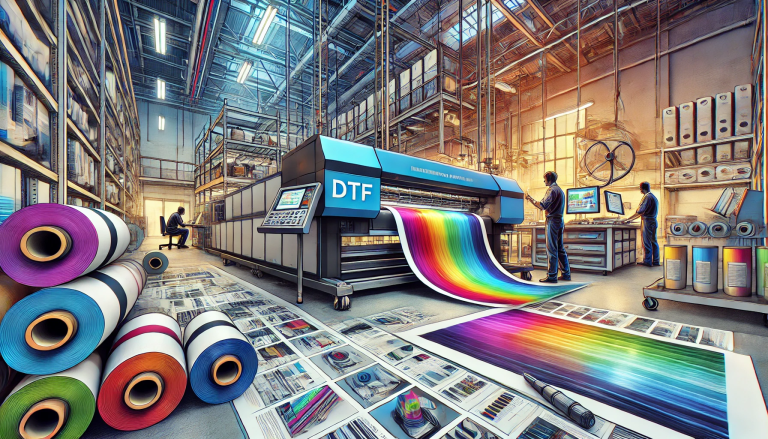
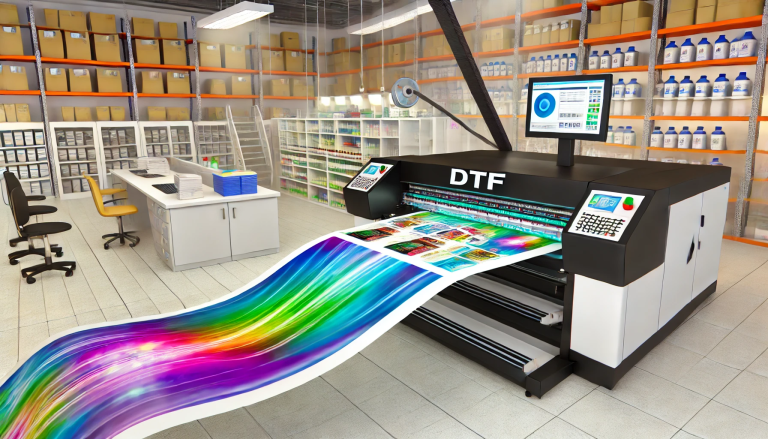
Direct Film (DTF) transfer, a revolutionary technique in the printing industry, has been gaining traction due to its versatility, quality, and cost-effectiveness. DTF transfer, as the name suggests, involves printing a design directly onto a special film using DTF inks and then transferring it onto a substrate using heat and pressure. This essay offers a comprehensive guide on how to undertake a DTF transfer, covering the step-by-step process, expert tips, and techniques to ensure high-quality results.
II. Understanding DTF Transfer
Before diving into the how-to, it’s crucial to understand the basics of DTF transfer. The technology relies on specially formulated DTF inks, a specific type of heat-sensitive adhesive powder, and a transfer film. The design is printed onto the film, followed by the application of the adhesive powder. Once prepared, this ‘transfer’ can be applied to a vast range of materials, from textiles and wood to certain plastics, making it a versatile choice for both personal and commercial applications.
The quality of DTF transfers is impressive. They can reproduce complex, multicolored designs with high detail and resolution, and the results are soft to the touch, flexible, and resistant to washing and fading.
III. Step-by-Step Guide to DTF Transfer
The process of DTF transfer involves a few key steps:
- Design Preparation: The first step involves creating or selecting the design you want to transfer. This design is then prepared digitally for printing, typically with software that is compatible with your DTF printer.
- Printing: Once your design is ready, load the DTF transfer film into your printer. The film is printed with your design using the special DTF inks.
- Applying Adhesive Powder: After printing, the design is coated with a heat-activated adhesive powder. The excess powder is then removed, leaving adhesive only on the printed areas.
- Curing: The adhesive-coated film is then heated to cure the adhesive, which prepares the transfer for application to the substrate.
- Transferring: The transfer is placed onto the substrate (the material you want the design on), and heat and pressure are applied using a heat press. This activates the adhesive, bonding the design to the substrate.
- Cooling and Peeling: After applying heat, let the substrate cool. Once cooled, the film is peeled away, leaving your vibrant design on the substrate.
IV. Tips and Techniques for Successful DTF Transfer
Achieving excellent results with DTF transfer requires attention to detail and an understanding of the process. Here are some expert tips:
- Quality Materials: Use high-quality DTF inks, adhesive powder, and transfer films for better results.
- Proper Curing: Ensure the adhesive powder is properly cured before transferring. Incomplete curing can lead to poor adhesion.
- Correct Heat and Pressure: Apply the right amount of heat and pressure during transfer. Check the manufacturer’s instructions for optimal settings.
- Peeling Technique: Peel the film away carefully. Too fast or uneven can damage the design.
- Practice: Like any new skill, practice is key. Experiment with different materials and designs to understand how the process works.
V. Conclusion
In conclusion, DTF transfer is a versatile and efficient technique that allows you to transfer intricate, high-quality designs onto various substrates. While the process involves several steps, understanding and carefully executing each one can lead to impressive results. With the right materials, proper technique, and a little practice, anyone can master DTF transfer and unlock


