“Creating Customized Artwork: How to Design Your DTF Transfer” -MAXDTF- DTF Transfer Film A4 Factory, DTF Digital Transfer Film Supplier, Made in China
I. Introduction
Direct Film (DTF) printing is a revolutionary technology that has transformed the textile and printing industries. Offering an unprecedented combination of quality, durability, and versatility, DTF has opened the doors to endless creative possibilities. One of the most exciting aspects of DTF printing is the ability to design your transfers, allowing for unparalleled customization. This essay provides an in-depth guide on designing your own DTF transfer, from conceptualizing the design to the final printing process.
II. Understanding DTF Transfers
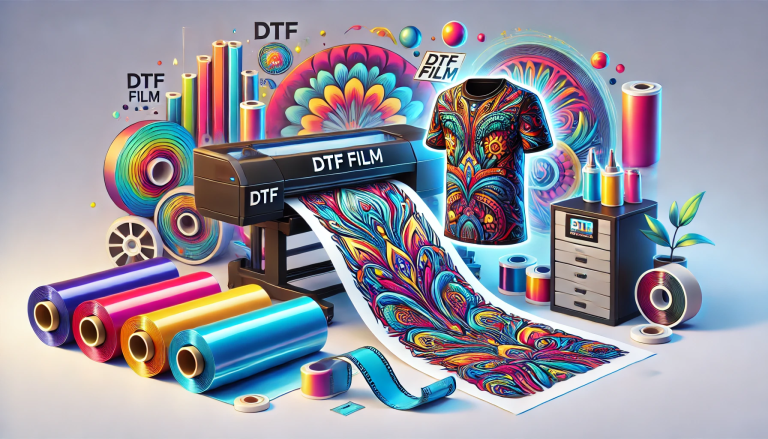
Before embarking on designing your own DTF transfer, it’s essential to understand what DTF transfers are and how they work. DTF printing involves digitally printing a design onto a special transfer film, followed by the application of an adhesive powder that bonds the ink to the film. The prepared transfer is then applied to a substrate (the material you want to print on) using a heat press, which activates the adhesive, fusing the design to the substrate.
DTF transfers are celebrated for their ability to reproduce high-resolution, multicolored designs with excellent detail and clarity. The resulting prints are soft, flexible, and resistant to washing and fading, making them ideal for applications ranging from custom clothing to personalized accessories.
III. Conceptualizing Your Design
The first step in designing your own DTF transfer is conceptualization. Think about what you want to create – this could be anything from a logo for a business, a unique design for a t-shirt, or an intricate pattern for a piece of artwork. The versatility of DTF printing means there are very few limits to what you can create.
Consider the purpose of your design. If it’s for a business, you may want to incorporate elements of your brand. If it’s for personal use, think about what you love – your interests, passions, or inspirations. Sketch out your ideas or make notes on what you want to include in your design. This is the stage where you can let your creativity run wild.
IV. Digitizing Your Design and Preparing for Print
Once you have conceptualized your design, the next step is to digitize it. This involves creating a digital version of your design using graphic design software. There are numerous software options available, including Adobe Illustrator and Photoshop, CorelDRAW, and free alternatives like GIMP.
In the software, you’ll recreate your design, making use of the various tools to shape, color, and refine your artwork. It’s important to set your design to the correct size and resolution for printing. For DTF printing, a resolution of 300 DPI (dots per inch) is generally recommended for clear, high-quality prints.
Once your design is digitized and sized correctly, it’s ready to be printed. Save your design in a format that’s compatible with your DTF printer, usually a PNG, TIFF, or EPS file.
V. Printing Your Design
With your design ready, it’s time to print your DTF transfer. Load the DTF transfer film into your printer, ensuring it’s correctly oriented. Then, open your design file in the printing software that comes with your DTF printer, adjust the print settings as necessary, and initiate the print.
Once printed, apply the adhesive powder to your design and cure it under heat. You now have a DTF transfer ready to be applied to your chosen substrate using a heat press. Once pressed and cooled, peel away the film to reveal your custom design.
VI. Conclusion
Designing your own DTF transfer is a rewarding process that combines creativity and technical skill. From the initial conceptualization of your design to the final stages of printing


