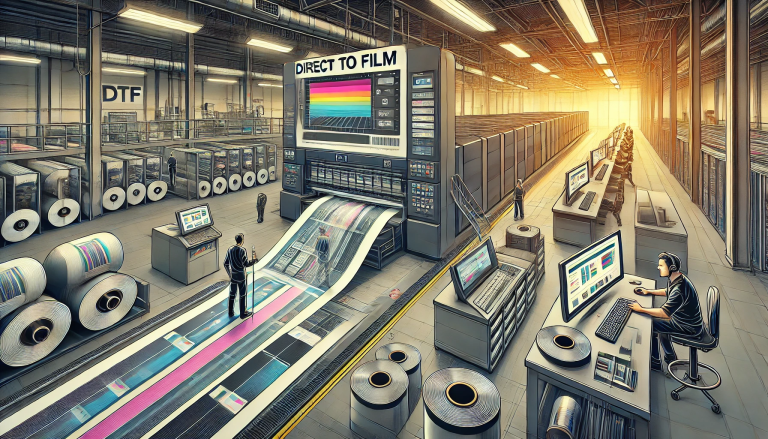
“How to Convert an Epson Printer into a UV Direct-to-Film (DTF) Printer” -MAXDTF- China UV DTF AB Decal, UV DTF AB Decal Manufacturer, Made in China
Introduction
The world of digital printing continues to evolve and present more possibilities, one of which is Direct-to-Film (DTF) printing. DTF technology has revolutionized how we approach textile and material printing by improving quality, reducing costs, and simplifying the process. But did you know that you can convert an ordinary Epson printer into a UV DTF printer? This conversion can save you money and give you a headstart in adopting this new technology. In this blog, we will walk you through a step-by-step guide on how to convert an Epson printer into a UV DTF printer.
Disclaimer: It’s crucial to note that this conversion process may void your printer’s warranty. Please proceed at your own risk. Also, take appropriate safety measures while handling UV-LED light sources and UV ink.
Step-by-Step Guide
- Selecting Your Printer: To begin, select a suitable Epson printer model. Epson L1800, L805, or P800 are popular choices due to their six-color printing capability that ensures high-quality prints. Ensure your printer is in good working order before starting the conversion process.
- Choosing the Right UV DTF Ink: The next step is selecting the correct UV DTF ink. It’s essential to use inks designed specifically for DTF printing to get the best results. UV DTF inks are available in CMYK, white, and varnish.
- Cleaning the Printer: It’s vital to thoroughly clean the printer before starting the conversion. Remove the existing ink and flush the system to ensure there are no traces left. You can use a printer cleaning solution to effectively clean the ink system.
- Modifying the Printer: This is the most crucial part of the process. You will need to modify the printer to accept the new UV DTF ink. You’ll need a UV ink conversion kit, which typically includes dampers, UV-protected ink tubes, and cartridges, all compatible with UV ink.
- Installing UV LEDs: This step involves integrating UV-LEDs into the printer. The UV light cures the UV ink immediately after it is printed onto the film. Be very careful when handling UV-LEDs, and use protective gear to avoid direct exposure.
- Ink System Installation: Fill the UV-protected cartridges with the UV DTF ink and install them into your printer. Make sure to use the UV-protected ink tubes to connect the cartridges to the dampers. This will protect the UV DTF ink from light exposure, which can prematurely cure it.
- Testing and Calibration: Finally, after the modification, test the printer by running a few print jobs. This will also allow the UV DTF ink to flow through the new ink system. Calibration may be needed to ensure the UV-LED light properly cures the ink, and the printer delivers high-quality prints.
Conclusion
Transforming your Epson printer into a UV Direct-to-Film printer is an innovative way to tap into the world of DTF printing. Although the process requires careful handling and understanding of the printer’s hardware, the result can be quite rewarding. By following the steps mentioned in this guide, you will be able to breathe new life into your Epson printer and venture into the exciting domain of UV DTF printing.
Remember, converting your printer to a UV DTF printer is an advanced DIY project. If you’re not comfortable with this process, consider consulting a professional or purchasing a pre-converted printer.
Always prioritize safety when handling UV-LED lights and UV inks, and enjoy the journey towards creating fantastic, high-quality prints with your newly converted UV DTF printer!


