“How to Do Direct-to-Film Printing: A Comprehensive Guide” -MAXDTF- China UV Magic Film, UV Film Transfer Film Supplier, Made in China
Direct-to-Film (DTF) printing, a newer technology in the textile industry, has been rapidly gaining popularity for its precision, vibrancy, and versatility. For many entrepreneurs and designers, DTF is becoming a go-to technique. If you’re considering venturing into DTF or just curious about the process, this guide will walk you through the basics.
What is Direct-to-Film Printing?
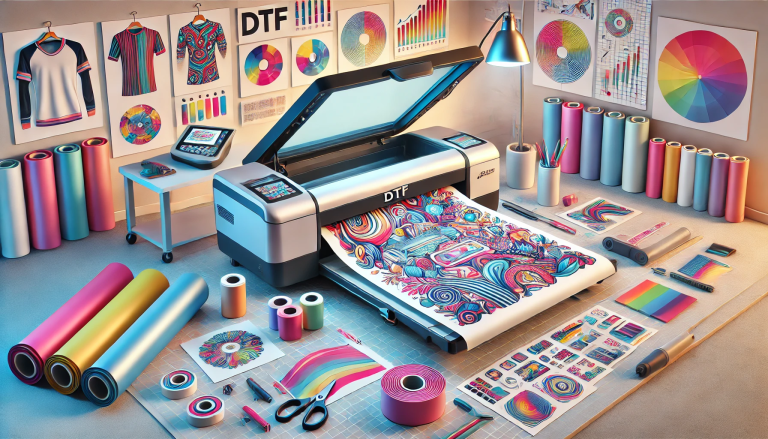
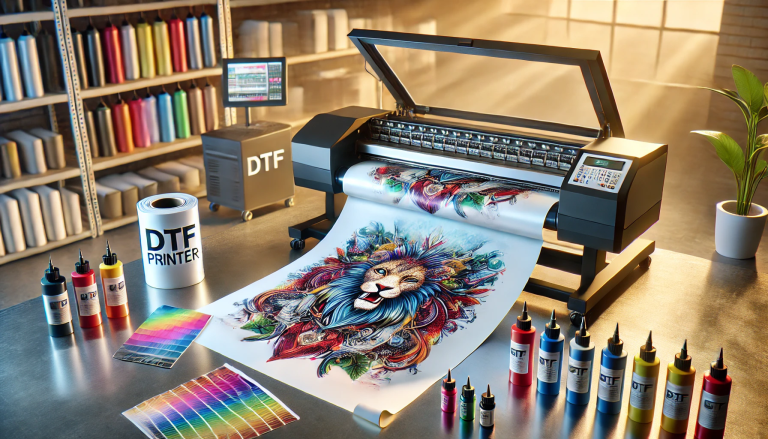
Direct-to-Film printing, as the name suggests, is a method where designs are printed onto a film, which is then heat transferred onto the desired medium – often fabric. Unlike traditional screen printing, DTF doesn’t need individual screens for colors, allowing for a more detailed and multi-colored print.
Advantages of DTF:
- High-Quality Prints: DTF offers high-resolution and detailed prints.
- Versatility: Can be used on various materials including cotton, polyester, and blends.
- No Color Limitation: Print full-color designs without extra costs.
- Cost-Effective for Small Batches: Perfect for custom orders or limited edition designs.
The DTF Printing Process:
- Design Preparation: Use graphic design software to create or modify your design. Ensure the design has a high resolution for the best results.
- Printer Setup: Invest in a high-quality DTF printer. Make sure to fill it with the right inks and regularly maintain it.
- Printing onto the Film: Feed the specialized film into the DTF printer. Print your design onto the film’s matte side. Remember, it’s essential to use the correct profile settings to ensure color accuracy and clarity.
- Applying Adhesive Powder: After printing, the design will be wet. Sprinkle a layer of DTF adhesive powder over it. This powder will later help bind the design to the fabric.
- Curing the Film: Put the film with the design and adhesive powder into an oven or use a heat press. The adhesive powder will melt, creating a smooth layer over the design.
- Transferring to Fabric: Place the cured film design-side down onto your chosen fabric. Use a heat press at the recommended temperature and pressure settings for a specific time, typically around 10-15 seconds.
- Peeling and Final Curing: After pressing, let the fabric cool for a moment and then peel away the film. Some recommend pressing the design once more for a few seconds to ensure the design has fully adhered.
- Cool Down and Set: Let the fabric cool down, and the design will set into the fabric, resulting in a vibrant, durable print.
Tips for Successful DTF Printing:
- Quality Over Quantity: Invest in a good-quality DTF printer and use the right inks. Compromising on quality can lead to faded or cracked prints.
- Regular Maintenance: Clean your printer regularly to prevent clogging and maintain print quality.
- Test First: Before printing a large batch, do a test print. This ensures the design looks as expected, and the colors are accurate.
- Know Your Materials: Different fabrics may require different heat press settings. Familiarize yourself with the best conditions for each material type.
Conclusion:
Direct-to-Film printing offers a fantastic opportunity for designers and businesses to produce high-quality, detailed designs without the complexities of traditional printing methods. With the right equipment, knowledge, and a bit of practice, you can master the art of DTF printing and create stunning pieces that stand out in the market.


