“How to Print on UV DTF Film: A Step-by-Step Guide to Achieving High-Quality Results” -MAXDTF- China UV DTF Printing Film, UV DTF PET Decal Manufacturer, Made in China
Summary:
Printing on UV DTF (Direct to Film) film opens up exciting possibilities for vibrant and durable prints on various surfaces. In this article, we provide a comprehensive step-by-step guide on how to print on UV DTF film. Divided into five informative paragraphs, we will discuss the necessary equipment, the preparation process, printing techniques, curing methods, and post-printing considerations. By following these steps, you can achieve exceptional results and unlock the full potential of UV DTF film printing.
Paragraph 1: Introduction to UV DTF Film Printing
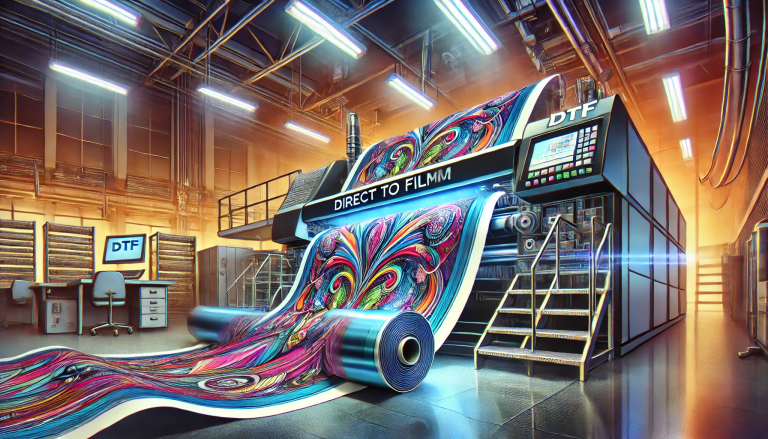
UV DTF film printing is a popular method for transferring vibrant designs onto a wide range of substrates, including textiles, ceramics, glass, and more. This process involves printing designs using UV-curable inks directly onto a specialized film, which is then transferred onto the desired surface through heat and pressure. Understanding the equipment and techniques involved is crucial to achieving high-quality prints.
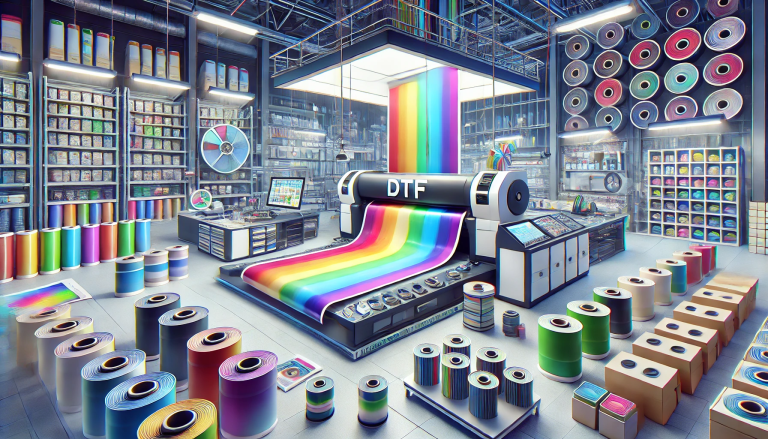
Paragraph 2: Equipment and Preparation
To print on UV DTF film, you will need a compatible printer capable of handling UV-curable inks and a roll of UV DTF film. Ensure that your printer settings are adjusted to accommodate the film’s thickness and size. Prepare your design file using appropriate software and consider factors such as color management and print resolution. Proper preparation and calibration of your equipment are essential for achieving accurate and vibrant prints.
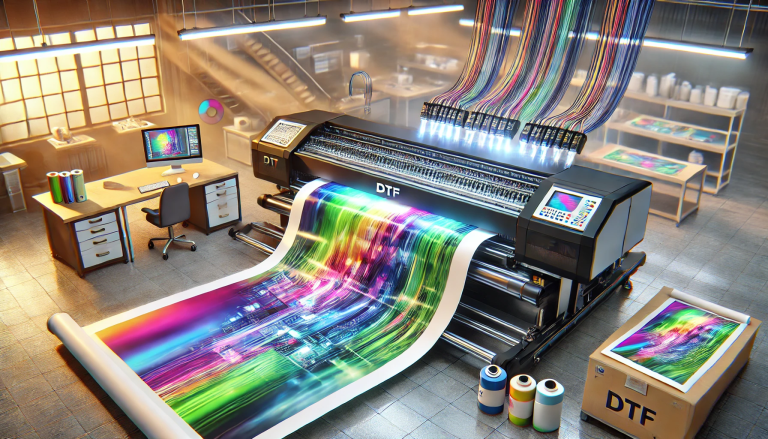
Paragraph 3: Printing Techniques
Load the UV DTF film into your printer, ensuring that it is securely aligned and properly tensioned. Adjust the print settings according to the desired color intensity, resolution, and substrate compatibility. It’s advisable to perform test prints to fine-tune the settings before proceeding with the final print. Take into account the drying time of the UV-curable inks to avoid smudging or smearing during the transfer process.
Paragraph 4: Curing and Transfer
After the print is complete, the UV-curable inks need to be cured to ensure their durability and adhesion. The curing process can be done using a UV light source, such as a UV LED lamp or a UV conveyor dryer. Follow the manufacturer’s instructions for the optimal curing time and distance. Once cured, carefully peel the UV DTF film from the release liner and position it on the desired substrate. Apply heat and pressure using a heat press machine to facilitate the transfer.
Paragraph 5: Post-Printing Considerations
After the transfer process, allow the substrate to cool down before removing the UV DTF film. Inspect the print for any imperfections or incomplete transfers. If necessary, repeat the transfer process using additional heat and pressure. Finally, post-process the substrate according to the material’s requirements, such as washing or post-curing for textiles.
Conclusion:
Printing on UV DTF film opens up exciting opportunities for vibrant and durable designs on various surfaces. By following the step-by-step guide outlined in this article, you can achieve high-quality prints with UV-curable inks. Remember to prepare your equipment, adjust the print settings, cure the inks correctly, and ensure a smooth transfer onto the desired substrate. With practice and attention to detail, you can unlock the full potential of UV DTF film printing and create stunning, long-lasting prints.