“How to Use DTF (Direct to Film) Transfer Powder: A Step-by-Step Guide” -MAXDTF- Transfer DTF UV Film Manufacturer, UV Magic Decal Supplier, Made in China
If you’re in the world of apparel printing, you’ve probably come across the term DTF (Direct to Film). DTF printing has gained significant traction because it offers a solution to print vibrant, detailed designs on various textiles without the need for pretreatment. A crucial component of this process is the DTF transfer powder. This article will guide you step-by-step on how to use DTF transfer powder for impressive print results.
What is DTF Transfer Powder?
DTF transfer powder is a special adhesive powder that’s used during the DTF printing process. Once applied, it binds the ink to the film, ensuring that when the design is transferred to the fabric, it remains vibrant and durable.
Benefits of Using DTF Transfer Powder
- Versatility: Suitable for a wide range of fabrics.
- No Pretreatment Needed: Unlike DTG (Direct to Garment) printing, there’s no need to pretreat the fabric.
- Vibrant Transfers: Helps in retaining the color brightness and clarity of designs.
Step-by-Step Guide to Using DTF Transfer Powder
1. Prepare Your Design and Printer:
- First and foremost, ensure your design is ready in a digital format compatible with your DTF printer.
- Load the DTF film into your printer with the matte side facing up.
2. Print the Design:
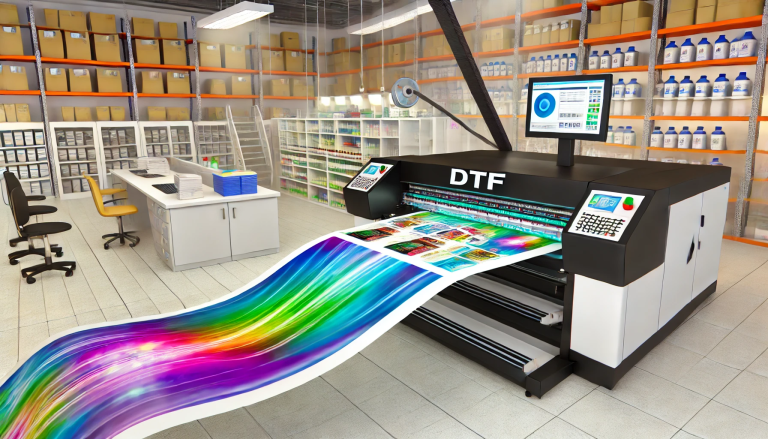
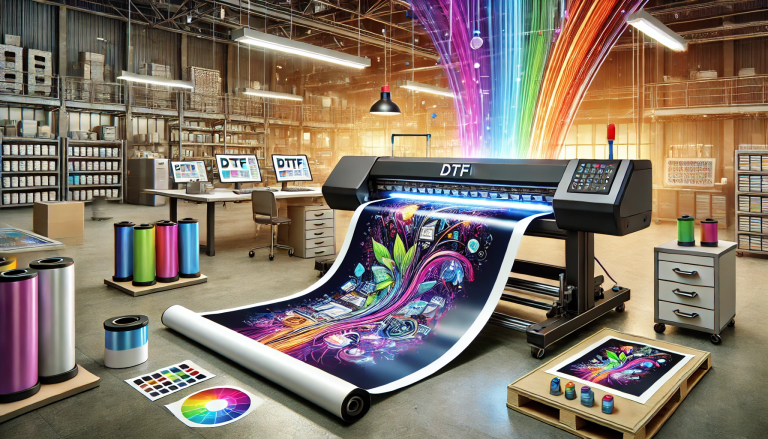
- Print the design onto the film. The printer will first print the colored design and then an overlay of white ink.
3. Applying the Transfer Powder:
- Once printed, carefully lay the film (ink side up) on a flat surface.
- Evenly sprinkle the DTF transfer powder over the wet ink. Ensure that you cover all inked areas.
- Shake off any excess powder. Some people use a light air blow to ensure there’s no extra powder.
4. Melting the Powder:
- Use a heat press or oven to melt the powder. This step ensures that the powder turns transparent and sticky. It also helps bind the ink to the film. Typically, the temperature for this process is around 210°F (100°C), but this might vary depending on the manufacturer’s recommendation.
- Be careful not to overheat; otherwise, the film might shrink or distort.
5. Transferring the Design to the Fabric:
- Preheat your fabric with a heat press to eliminate any moisture.
- Position the film (with the design) onto your fabric, ensuring it’s perfectly aligned.
- Apply heat using a heat press. Generally, this is done at around 350°F (175°C) for about 15 seconds. However, always refer to the manufacturer’s guidelines.
- Once pressed, peel away the film gently. Your design should now be beautifully transferred to the fabric.
6. Post-Press:
- To ensure durability, it’s a good idea to give the design another press for around 10 seconds. This step ensures that the design is thoroughly embedded into the fabric.
7. Curing the Design (Optional but recommended):
- To further increase the design’s lifespan, you can cure it using a tunnel dryer or conveyor dryer.
Tips for Successful DTF Transfers:
- Always store your DTF transfer powder in a cool, dry place to maintain its effectiveness.
- Regularly clean your DTF printer to avoid any ink clogs or misprints.
- Conduct test prints to determine the best heat press time and temperature for your specific fabric and printer.
Conclusion
DTF printing, combined with the right transfer powder, offers an excellent solution for those looking to produce vibrant and detailed designs on textiles. With the steps mentioned above and a bit of practice, you’ll master the art of using DTF transfer powder in no time!


