“How to Use DTF Transfer Film: A Step-by-Step Guide” -MAXDTF- DTF UV Paper Manufacturer, Direct to Transfer UV DTF Paper Supplier, Made in China
In the world of digital printing, Direct-to-Film (DTF) technology has opened up new vistas of creativity and convenience. Whether you’re looking to start a personalized t-shirt business, create custom merchandise, or just explore a new hobby, DTF transfer film can be a game-changer. But how exactly do you use this innovative medium? Let’s break it down step by step.
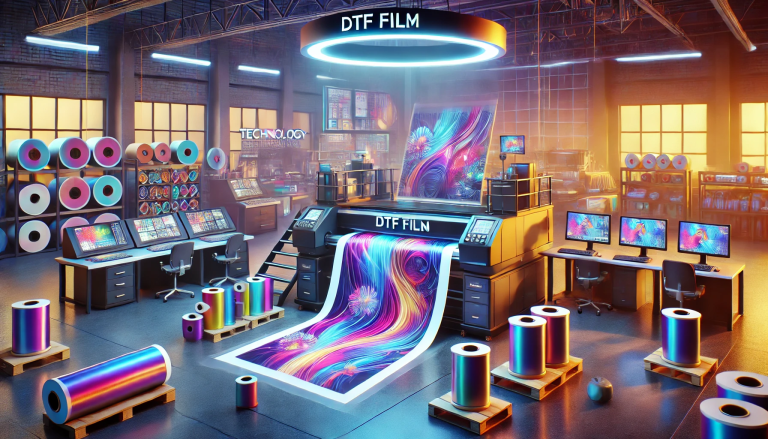
Understanding DTF Transfer Film
Before diving into the how-to, it’s essential to grasp what DTF transfer film is. Simply put, DTF technology involves printing a design directly onto a special film. This design is then transferred to various surfaces, such as textiles, using heat.
Steps to Use DTF Transfer Film
- Design Creation:
- Start with a digital design. This could be a graphic, photograph, artwork, or text. Ensure your design is of high resolution to get the best print quality.
- Use graphic software like Adobe Illustrator, Photoshop, or CorelDRAW to finalize your design.
- Setting up the Printer:
- Ensure you have a DTF-compatible printer.
- Load it with DTF inks, which are specially formulated for this process.
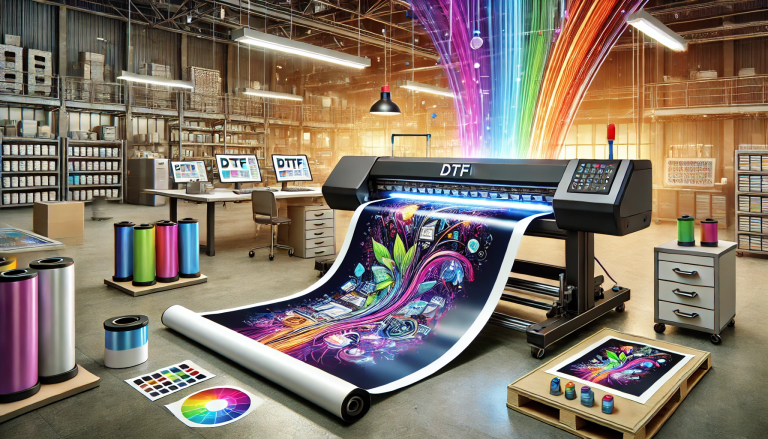
- Printing onto the Film:
- Load your DTF printer with the DTF transfer film.
- Print the design directly onto the film’s matte side. Ensure the image is mirrored, especially if it contains text.
- Applying Adhesive Powder:
- After printing, the design on the film will be wet. Sprinkle the adhesive powder evenly over the design.
- Remove any excess powder. This can be done using a shaking process or with specialized machines.
- Drying and Curing:
- The film, now coated with adhesive powder, needs to be dried and cured. This can be achieved using a heat press or an oven. The adhesive will melt and bind to the ink.
- Transferring the Design:
- Place the printed film (design side down) onto your chosen substrate, e.g., a t-shirt.
- Use a heat press to apply heat and pressure. The heat will cause the design to transfer from the film to the substrate.
- Peel away the film while it’s still warm to reveal your transferred design.
- Final Curing:
- To ensure the design’s longevity and durability, especially on textiles, you might need to press the item again for final curing.
Tips for Using DTF Transfer Film:
- Always test your design on a small piece or a sample before going for a full print.
- Ensure your heat press is set at the right temperature and pressure for the substrate you’re transferring to.
- Store your DTF transfer films in a cool, dry place to maintain their quality.
Conclusion:
DTF transfer film technology offers a seamless way to bring digital designs to life on various surfaces. While the process might seem intricate at first, with practice, it becomes straightforward. Whether you’re a business seeking to offer customized products or an individual looking to express creativity, mastering the use of DTF transfer film can be both rewarding and profitable. Happy printing!