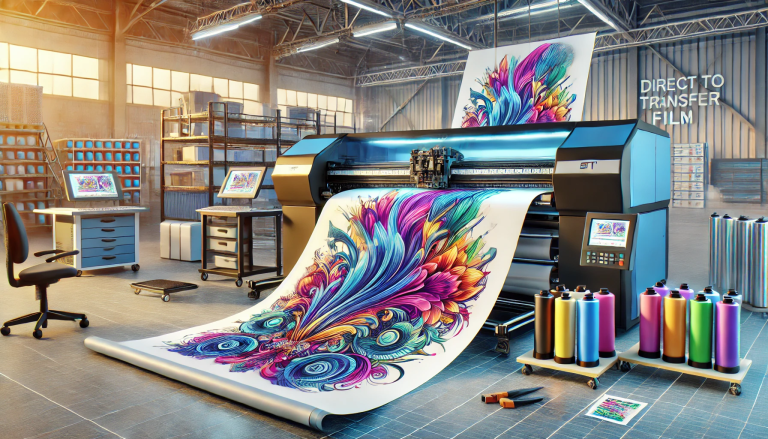
“Mastering the Art of Printing with UV DTF Paper: A Comprehensive Guide” -MAXDTF- UV DTF Paper Wholesale, UV DTF Transfer AB Paper Manufacturer, Made in China
Direct-to-Film (DTF) printing has revolutionized the world of custom designs and personalized creations. Its ability to transfer intricate designs onto various surfaces has made it a sought-after technique among artists, designers, and hobbyists. If you’re eager to explore the world of DTF printing and wondering how to get your printer to accept UV DTF paper, you’ve come to the right place. This guide will walk you through the steps, tips, and considerations to successfully use UV DTF paper with your printer.
Understanding UV DTF Paper
UV DTF paper, also known as UV Direct-to-Film paper, is a specialized type of transfer paper designed for use with UV-curable inks. Unlike traditional DTF paper that requires the use of a heat press, UV DTF paper relies on the curing properties of UV light to set the ink onto the desired surface. This makes it an excellent choice for a wide range of substrates, including fabrics, ceramics, glass, and more.
Step-by-Step Process: Getting Your Printer Ready for UV DTF Printing
- Select Compatible Printer: Ensure your printer is compatible with UV-curable inks and has the necessary settings to handle UV DTF paper. Check your printer’s manual or manufacturer’s website for information on ink compatibility.
- Acquire UV Inks: UV DTF printing requires UV-curable inks that can adhere to the UV DTF paper and cure under UV light. Make sure you have the appropriate inks for your printer.
- Adjust Printer Settings: Access your printer’s settings and select the appropriate media type for UV DTF paper. This step is crucial for ensuring the printer deposits the ink correctly.
- Prepare Design: Create or select the design you want to print using design software compatible with your printer. Make sure the design is sized correctly for the intended substrate.
- Load UV DTF Paper: Load the UV DTF paper into your printer’s paper tray according to the manufacturer’s instructions. Be careful not to damage the paper during loading.
- Print: Send the prepared design to your printer and ensure it’s set to print using UV-curable inks. Double-check all settings before proceeding.
- Curing Process: Once the design is printed on the UV DTF paper, carefully transfer it to the desired substrate. Use a UV light source to cure the ink according to the manufacturer’s recommendations. This process solidifies the ink onto the substrate.
Tips and Considerations
- Ink Compatibility: Ensure the UV-curable inks you’re using are compatible with the substrate you intend to print on.
- Quality UV Light Source: Invest in a high-quality UV light source for proper curing. Inadequate curing can lead to poor adhesion and durability of the printed design.
- Practice and Experiment: Like any printing technique, UV DTF printing may require some trial and error to achieve optimal results. Experiment with different settings, inks, and curing times to find the perfect combination for your desired outcome.
- Surface Preparation: Some substrates may require pre-treatment to enhance ink adhesion. Research the specific requirements for the material you’re working with.
- Maintenance: Regularly clean your printer and ensure the print heads are in good condition to avoid clogs and inconsistent printing.
UV DTF printing opens up a world of creative possibilities, allowing you to print vibrant and intricate designs on a variety of surfaces. By following this guide and mastering the process, you can unlock the full potential of UV DTF paper and take your printing projects to new heights of excellence.


