Mastering the Art of UV Printing Direct to Film: A Comprehensive Guide, UV on Adhesive Sticker at Adhesive Factory, UV Film Transfer Manufacturer, China
In the ever-evolving landscape of printing technology, UV direct-to-film (DTF) printing has emerged as a powerful and efficient method for transferring designs onto various substrates. Whether you’re a seasoned print professional or a curious beginner, this comprehensive guide will walk you through the intricate process of UV direct-to-film printing, from its fundamental principles to the steps required for achieving stunning, high-quality prints.
Understanding UV Direct-to-Film Printing: The Basics
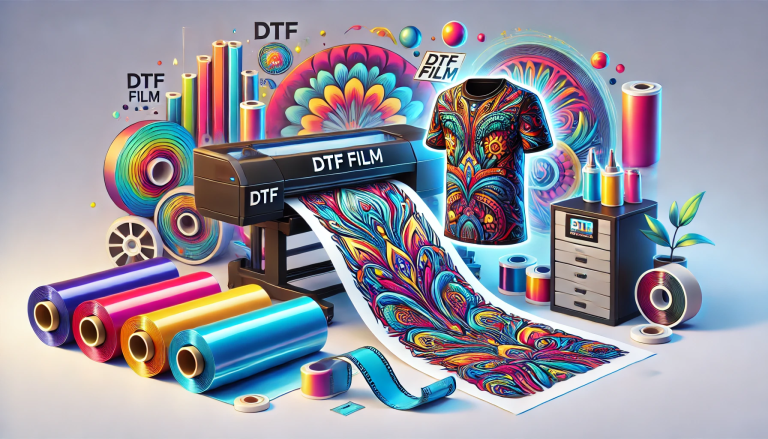
UV direct-to-film printing is a technique that involves using UV-curable inks to create an image directly on a film substrate. This film serves as an intermediary, transferring the image onto a target surface, such as textiles, ceramics, glass, or even metal. The UV inks used in this process are designed to cure and adhere quickly when exposed to UV light, resulting in vibrant and long-lasting prints.
Advantages of UV Direct-to-Film Printing
- Speed and Efficiency: UV direct-to-film printing offers rapid curing times, allowing for faster production cycles compared to traditional methods.
- High Resolution and Detail: This method provides excellent print resolution and intricate detail reproduction, making it ideal for complex designs.
- Versatility: UV direct-to-film printing can be applied to a wide range of materials, making it suitable for various industries, including textiles, advertising, ceramics, and more.
- Durability: UV-cured inks are known for their durability and resistance to fading, making the final prints suitable for both indoor and outdoor applications.
- Eco-Friendly: UV inks typically have lower levels of volatile organic compounds (VOCs), making them more environmentally friendly compared to some solvent-based inks.
Step-by-Step Guide to UV Direct-to-Film Printing
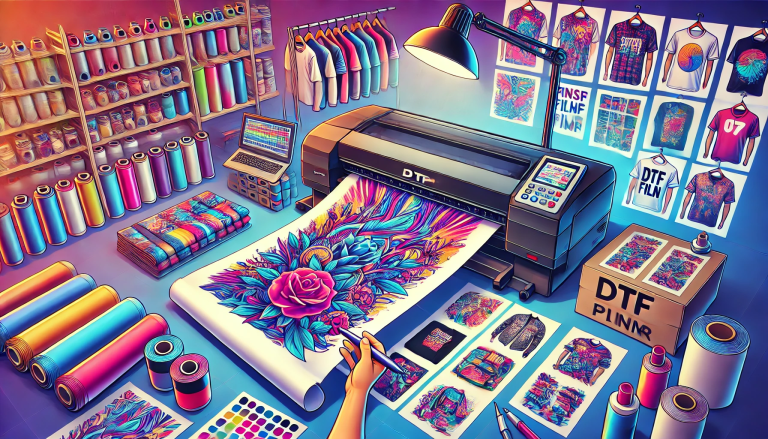
Step 1: Design Creation Begin by creating your design using graphic design software. Pay close attention to color schemes, image resolution, and the overall design layout. Keep in mind that the final result will largely depend on the quality of the initial design.
Step 2: Preparing the Film Select a high-quality UV-transmissible film. Ensure that it is clean and free from any debris or smudges that could affect the print quality. Attach the film to the print bed or carrier, ensuring it is taut and wrinkle-free.
Step 3: Applying UV Inks Load the UV-curable inks into the printing system. Adjust the inkjet heads to the correct height for optimal ink deposition. Start the printing process, ensuring that the inks are deposited accurately onto the film.
Step 4: UV Curing Immediately after the ink is applied, expose the printed film to UV light. This rapid curing process solidifies the inks, allowing for quick transfer to the final substrate. Ensure proper UV exposure to achieve the desired adhesion and durability.
Step 5: Transferring the Print Place the cured film onto the target substrate with the printed side facing down. Apply pressure and heat using a heat press or other suitable equipment. The combination of pressure and heat will facilitate the transfer of the print from the film to the substrate.
Step 6: Finishing Once the transfer is complete, carefully peel off the film to reveal the transferred image on the substrate. If necessary, perform any post-processing steps, such as trimming excess material or applying protective coatings.
Conclusion
UV direct-to-film printing is a dynamic and versatile technique that has revolutionized the world of printing. Its ability to create high-resolution prints on various substrates with speed and efficiency makes it a sought-after method in many industries. By understanding the core principles and following the step-by-step guide provided in this article, you’ll be well-equipped to explore the exciting realm of UV direct-to-film printing and produce remarkable prints that captivate and endure.