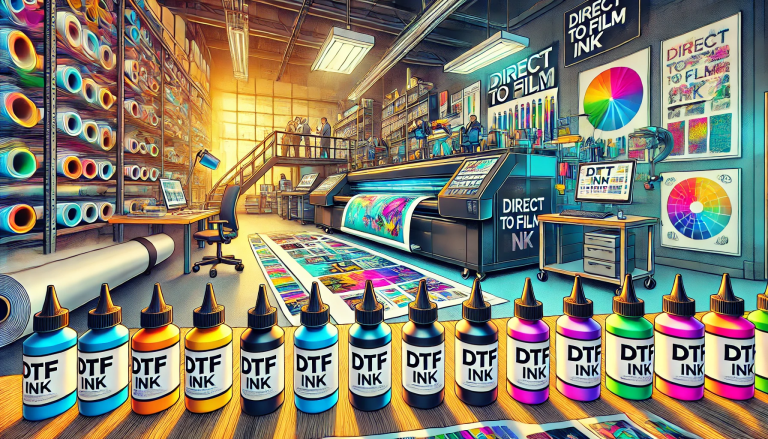
“Mastering UV DTF Printing: A Comprehensive Guide to Using Transfer Powder” -MAXDTF-China UV Magic Decal, UV DTF Printing Paper Wholesale, Made in China
Welcome to the fascinating world of UV DTF (Direct to Film) printing! This relatively new technology in the printing industry has been a game-changer, revolutionizing the way we print on various surfaces, including fabrics, ceramics, metals, and more. A crucial component of UV DTF printing is the application of transfer powder. If you’re scratching your head and wondering how to navigate this process, don’t worry, we’ve got you covered.
An Introduction to UV DTF Printing
Before we dive into the specifics of using transfer powder, let’s briefly discuss UV DTF printing. In essence, UV DTF is a technique that uses ultraviolet light to dry or cure ink almost instantaneously. This method allows for high-quality, durable prints on a wide variety of surfaces, and its speed and efficiency make it an excellent choice for both industrial and creative applications.
The Role of Transfer Powder
Transfer powder, sometimes referred to as adhesion powder or hot melt powder, plays a critical role in the UV DTF printing process. The powder is used to adhere the UV ink to the material being printed on. Not only does the transfer powder make the print more vibrant and long-lasting, but it also improves the feel of the print, giving it a smooth and soft texture.
Now that we understand what transfer powder is and its purpose, let’s delve into how to use it correctly in UV DTF printing.
Steps to Using Transfer Powder in UV DTF Printing
Step 1: Prepare Your Print
Begin by printing your design onto the DTF film. Make sure you use a suitable UV DTF printer with UV ink for this purpose. Remember, the design will be mirrored when printed onto the DTF film, as it will be transferred face-down onto the substrate (the material you’re printing on).
Step 2: Apply the Transfer Powder
Once your design is printed, while the ink is still wet, apply the transfer powder. You can do this by sprinkling the powder evenly over the entire printed area. Make sure you cover all the printed parts to ensure complete adhesion.
Step 3: Remove Excess Powder
After you’ve applied the transfer powder, gently shake off any excess. It’s important to remove any unattached powder to prevent it from sticking to undesired areas of your substrate.
Step 4: Heat Press the Design
Place your printed film face-down onto your substrate. Use a heat press to press the design onto the substrate. The heat will activate the transfer powder, causing it to bond with the UV ink and adhere the design to the substrate. Be sure to follow the manufacturer’s recommendations for heat press settings as these may vary based on the transfer powder and substrate type.
Step 5: Peel and Cure
After heat pressing, carefully peel off the DTF film while it’s still warm. The design should now be transferred onto the substrate. Finally, cure the print according to your ink’s specifications to ensure its durability.
Tips for Success
- Quality Counts: Always choose high-quality transfer powder. Poor quality powders may not adhere well, leading to subpar prints.
- Timing is Key: Apply the transfer powder as soon as the printing is done. If the ink dries before powder application, the adhesion will not be optimal.
- Heat Press Settings Matter: Temperature and time are critical factors in the heat pressing process. Always follow the manufacturer’s instructions.
UV DTF printing, with its versatility and quality, is truly a game-changer in the printing industry. Mastering the use of transfer powder is key to achieving optimal results. With practice and attention to detail, you’ll soon be producing vibrant, durable prints on a wide variety of substrates. Happy printing!


