“How to Do a Direct-to-Transfer Film with a Sublimation Printer” -MAXDTF- Direct Transfer UV DTF Film Manufacturer, UV DTF Printing Film Supplier, Made in China
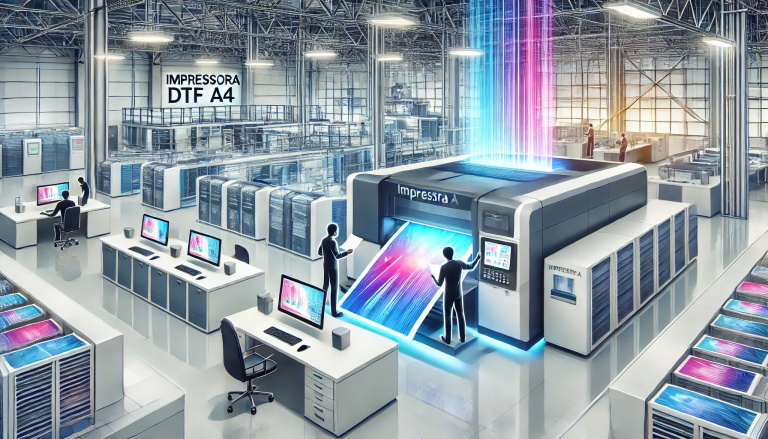
The textile printing industry is experiencing a significant transformation with the advent of Direct-to-Film (DTF) printing technology. This innovative process has revolutionized the way designs are transferred to fabrics, offering a versatile, cost-effective, and high-quality alternative to traditional methods like screen printing and heat transfer. One of the key components of DTF printing is the use of transfer films, which bridge the gap between digital design and the final printed fabric. While DTF printing typically involves specialized equipment, it is now possible to perform a DTF technique using a sublimation printer, opening up new possibilities for small businesses and hobbyists. In this article, we will explore how to perform a Direct-to-Transfer Film (DTF) process with a sublimation printer, step by step.
What is Direct-to-Transfer Film (DTF) Printing?
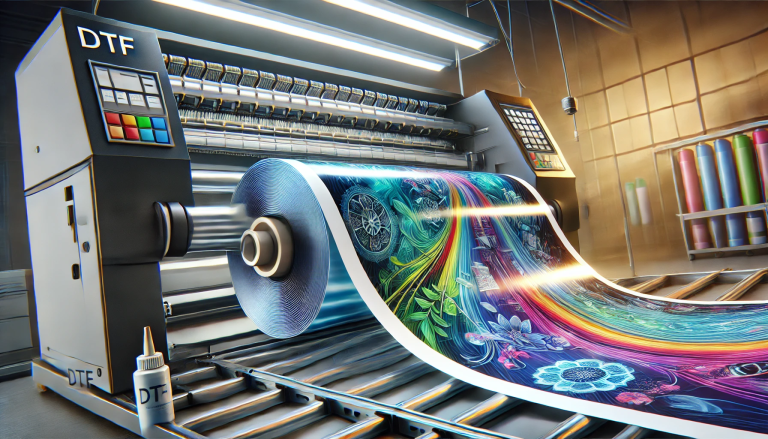
Direct-to-Film (DTF) printing is a digital printing method that uses a specialized inkjet printer to print designs onto a Polyethylene Terephthalate (PET) transfer film. Once printed, the film is coated with a layer of thermoplastic powder, which adheres to the ink and creates a transferable layer. This layer is then applied to the fabric using a heat press, producing durable and vibrant prints.
DTF printing offers several advantages over traditional methods, including high-quality prints, versatility in fabric types, and the ability to print complex designs with fine details. It is particularly popular for custom apparel, promotional products, and personalized items.
Why Use a Sublimation Printer for DTF?
While DTF printing typically requires specialized equipment, such as a DTF printer and thermoplastic powder system, some hobbyists and small businesses have found ways to adapt existing equipment, such as sublimation printers, to perform a similar process. A sublimation printer uses sublimation inks and transfers designs onto polyester fabrics using heat. By modifying this process slightly, it is possible to create a DTF-like effect using a sublimation printer, making it accessible to those who don’t have access to full DTF systems.
Steps to Perform a DTF Process with a Sublimation Printer
While the process may not be as streamlined as using a dedicated DTF printer, it is still possible to achieve high-quality results with a sublimation printer. Below is a step-by-step guide on how to perform a DTF-like process using a sublimation printer:
Step 1: Gather Your Materials
Before you begin, make sure you have the following materials on hand:
- Sublimation Printer: Any sublimation printer that supports the required resolution and ink types.
- Sublimation Inks: High-quality sublimation inks designed for your printer model.
- PET Transfer Film: A high-quality PET film compatible with sublimation inks. You can purchase specialized DTF PET film or use sublimation transfer paper.
- Thermoplastic Powder: While not mandatory, applying a thin layer of thermoplastic powder can enhance the transfer and durability of the print.
- Heat Press: A reliable heat press is essential for transferring the design onto the fabric.
- Fabric: Choose a fabric suitable for sublimation printing, such as polyester or a poly-cotton blend.
- Design Software: Software like Adobe Illustrator, CorelDRAW, or Photoshop to create or edit your design.
Step 2: Prepare Your Design
- Design Creation: Use your preferred design software to create or edit the design you want to print. Ensure that the design is high-resolution (300 DPI or higher) and saved in a compatible file format (e.g., JPEG, PNG).
- Color Management: Sublimation printing requires accurate color management. Make sure your design uses the correct color profile for sublimation printing (e.g., CMYK colors).
- Mirror the Image: Since sublimation printing involves transferring the design onto the fabric, you need to mirror the image in your design software. This ensures that the print appears correctly on the fabric once transferred.
Step 3: Print the Design on the PET Transfer Film
- Load the PET Film: Load the PET transfer film into your sublimation printer. Ensure that the film is properly aligned and free of wrinkles.
- Print Settings: Set your printer to the correct settings for sublimation printing. This typically includes selecting the correct paper type (PET transfer film), high-resolution printing (at least 300 DPI), and the appropriate color mode (CMYK).
- Print the Design: Print the mirrored design onto the PET transfer film. Make sure the print is clear and vibrant, and that there are no smudges or ink streaks.
Step 4: Apply Thermoplastic Powder (Optional)
- Coat the Printed Film: If you have thermoplastic powder, carefully apply a thin, even layer of powder over the printed area of the PET film. Shake off any excess powder.
- Heat the Powder: Use a heat source, such as an iron or small heat press, to heat the powder. This will cause the powder to melt and bond with the ink, creating a transferable layer. Be careful not to overheat the film, as this can cause the ink to smudge.
Step 5: Transfer the Design to the Fabric
- Pre-Press the Fabric: Place the fabric on the heat press platen and pre-press it at the recommended temperature for the fabric type (usually between 350°F and 400°F or 175°C to 205°C). This helps to remove any wrinkles and ensures a smooth transfer.
- Apply the Transfer Film: Place the printed PET film (ink-side down) onto the fabric. Ensure that the design is positioned correctly.
- Heat Press the Transfer: Close the heat press and apply heat and pressure for the recommended time (usually 30-60 seconds, depending on the fabric and design). The heat will activate the sublimation inks and transfer the design onto the fabric.
- Remove the Transfer Film: Carefully peel away the PET film while the fabric is still warm. The design should now be permanently transferred onto the fabric.
Step 6: Finalize the Print
- Cool the Fabric: Allow the fabric to cool completely. This ensures that the design is fully set and prevents smudging.
- Inspect the Print: Check the print for quality and vibrancy. Ensure that there are no blank spots or smudges.
- Post-Treatment (Optional): For added durability, you can apply a heat-resistant spray or finish to the printed area. This can help protect the design from fading or cracking over time.
Tips for Success
- Choose the Right Fabric: Sublimation printing works best on polyester or poly-cotton blends. Natural fabrics like cotton may not absorb the ink properly, resulting in poor print quality.
- Experiment with Settings: Heat and pressure settings can vary depending on the fabric, film, and design. Experiment with different settings to find the optimal combination for your project.
- Test Prints: Always perform test prints on scrap fabric before committing to your final design. This allows you to make adjustments and ensure that the print will look as expected.
- Invest in Quality Materials: High-quality PET transfer film, sublimation inks, and thermoplastic powder can significantly improve the results of your DTF process.
Conclusion
While dedicated DTF printers and equipment are the ideal choice for professional DTF printing, it is possible to achieve similar results using a sublimation printer and some creative adaptation. By following the steps outlined in this article, you can perform a Direct-to-Transfer Film process with a sublimation printer, opening up new possibilities for custom textile printing. Whether you’re a hobbyist looking to create personalized apparel or a small business exploring new printing methods, this technique offers a cost-effective and versatile solution for producing high-quality prints. With practice and experimentation, you can master the art of DTF printing with a sublimation printer and take your textile printing projects to the next level.