“The Comprehensive Guide to Printing DTF Stickers” -MAXDTF- PET Film DTF A4 Manufacturer, DTF cold peel Film Factory, Made in China
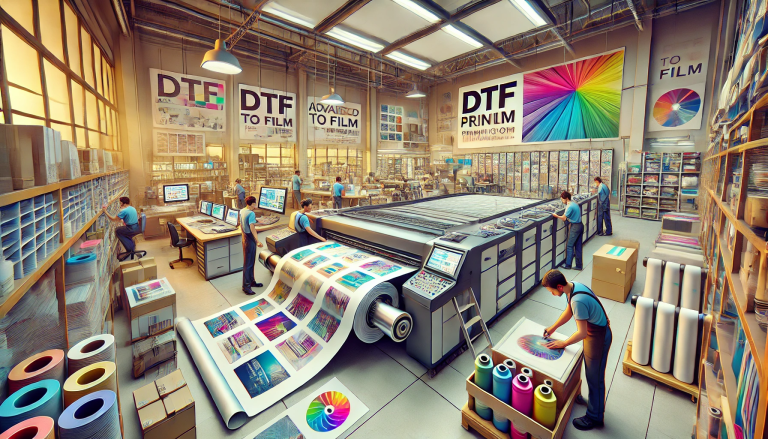
Direct to Film (DTF) printing is revolutionizing the sticker industry by providing a versatile, durable, and cost-effective solution for producing high-quality prints. This comprehensive guide will walk you through the essentials of printing DTF stickers, from understanding the technology to the step-by-step process, ensuring you can produce stunning results every time.
1. Understanding DTF Technology
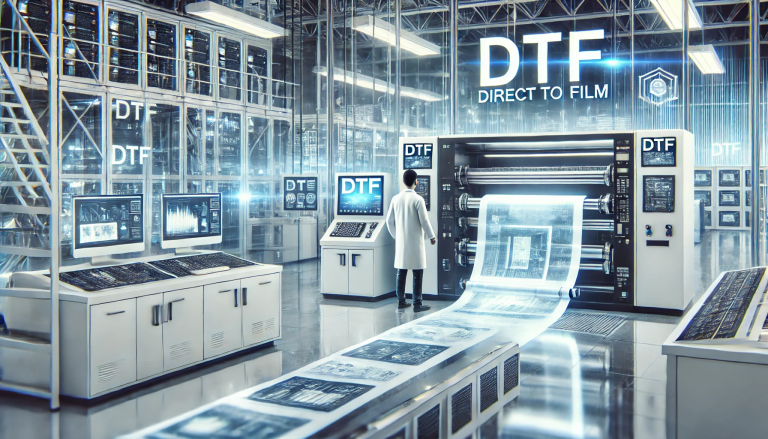
DTF printing involves printing a design onto a special film, which is then transferred to various substrates using heat and pressure. Unlike traditional methods that require the substrate to be directly fed through the printer, DTF allows for greater flexibility and can adhere to a wide variety of materials including textiles, plastics, and more. This makes it ideal for creating customized stickers that stand out.
2. Setting Up Your DTF Printer
Before diving into printing, it’s essential to set up your DTF printer correctly:
- Choose the Right Printer: Select a printer specifically designed for DTF processes to ensure compatibility and quality.
- Install DTF Ink: Use inks formulated for DTF to achieve vibrant colors and optimal print quality.
- Load the Film: Insert the DTF film into your printer. Ensure it is free of dust and debris to avoid imperfections.
3. Design Preparation and Software
Effective design is crucial for successful DTF printing:
- Graphic Design Software: Use software like Adobe Photoshop or Illustrator to create or edit your sticker designs.
- File Preparation: Convert your designs into the appropriate file format, typically PNG or TIFF, with a transparent background for better print quality.
- Color Adjustments: Adjust your design’s color settings to match the DTF ink’s color output for accuracy.
4. The Printing Process
Once your design is ready and your printer is set up, follow these steps:
- Print the Design: Print your design onto the DTF film. Ensure the print settings are optimized for the highest quality.
- Apply Powder Adhesive: While the ink is still wet, apply a thin layer of powder adhesive evenly over the print. This powder helps the design bond to the substrate during the transfer.
- Curing the Print: Cure the print by heating it in a designated oven or using a heat press. This melts the adhesive and fixes the ink.
5. Transferring the Design
The final step is to transfer the printed design onto the sticker substrate:
- Prepare the Substrate: Ensure the substrate is clean and free from oils or dust.
- Heat Press: Place the film onto the substrate and use a heat press to transfer the design. The heat activates the adhesive, bonding the print to the substrate.
- Peeling: Once cooled, peel off the film to reveal the printed sticker.
6. Finishing and Post-Processing
After transferring, some additional steps can enhance the quality and durability of your DTF stickers:
- Cutting: Use a precision cutter to shape the stickers if necessary.
- Protective Coating: Apply a clear coat to protect the print from UV light, moisture, and scratches.
7. Tips for Optimal Results
- Test Print: Always do a test print to check for color accuracy and print quality.
- Regular Maintenance: Regularly clean and maintain your printer to avoid clogs and ensure consistent quality.
- Storage: Store unused DTF films and stickers in a cool, dry place away from direct sunlight.
Conclusion
Printing DTF stickers offers an innovative way to produce high-quality, durable stickers with ease. By understanding the technology, setting up your equipment correctly, and following precise printing and transferring processes, you can achieve professional-grade stickers that are perfect for a variety of applications. Whether for business needs or personal projects, mastering DTF printing can open up new avenues for creative and functional sticker production.