“UV DTF Printing: A Comprehensive Guide” -MAXDTF- DTF UV Film Factory, Direct Transfer UV DTF Decal Manufacturer, Made in China
UV DTF (Direct Transfer Film) printing represents a significant advancement in the printing industry, combining the versatility of traditional DTF methods with the durability and vibrancy of UV curing technology. This guide explores the process, benefits, applications, and considerations of UV DTF printing.
1. Understanding UV DTF Printing
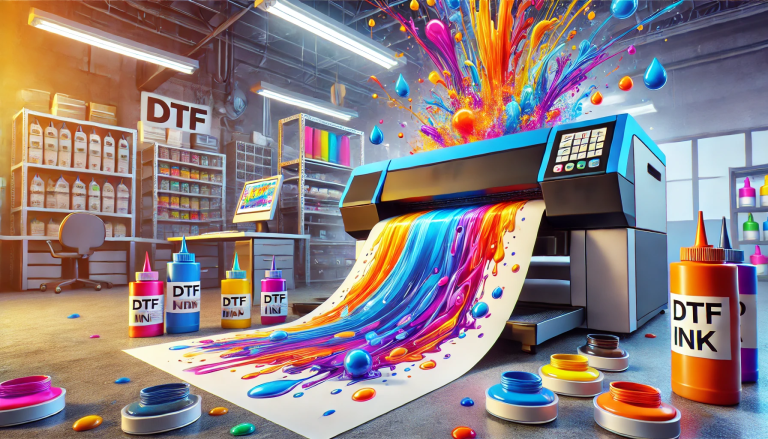
UV DTF printing involves printing graphics onto a special film, which is then coated with an adhesive and finally transferred to a variety of substrates using UV light to cure or dry the ink instantly. Unlike traditional DTF that uses heat to transfer designs, UV DTF uses ultraviolet light, making it faster and more efficient for certain applications.
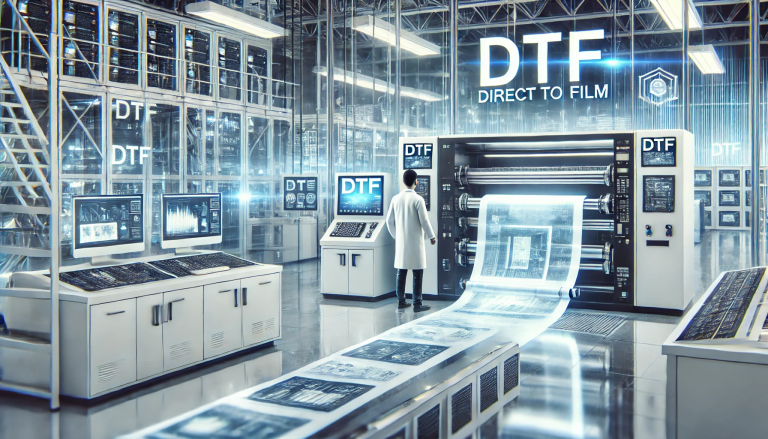
2. The Process of UV DTF Printing
The UV DTF printing process can be broken down into several key steps:
- Design Creation: Everything starts with a digital design, which can be created or edited using graphic design software.
- Printing: The design is printed in reverse onto a transparent PET film using a UV printer that applies a special UV ink.
- Adhesive Application: After printing, a clear adhesive is applied over the ink. This adhesive is crucial as it bonds the print to the substrate.
- Curing: The UV lamp on the printer cures the ink almost instantaneously, setting the image on the film.
- Transferring: The final print is then applied to the desired substrate, and the UV light is used again to ensure the print is perfectly cured onto the new surface.
3. Advantages of UV DTF Printing
UV DTF printing offers several distinct advantages:
- Versatility: It can be used on a wide range of materials, including plastics, glass, ceramics, metal, and more, without requiring any pre-treatment of the substrates.
- Durability: UV inks are renowned for their resistance to fading, water, and abrasion.
- Quality: UV DTF prints are exceptionally vivid and sharp, with a high level of detail and color fidelity.
- Speed and Efficiency: The curing process is instantaneous, which speeds up production significantly.
- Eco-Friendly: UV inks are solvent-free and do not emit volatile organic compounds (VOCs), making them more environmentally friendly than some traditional inks.
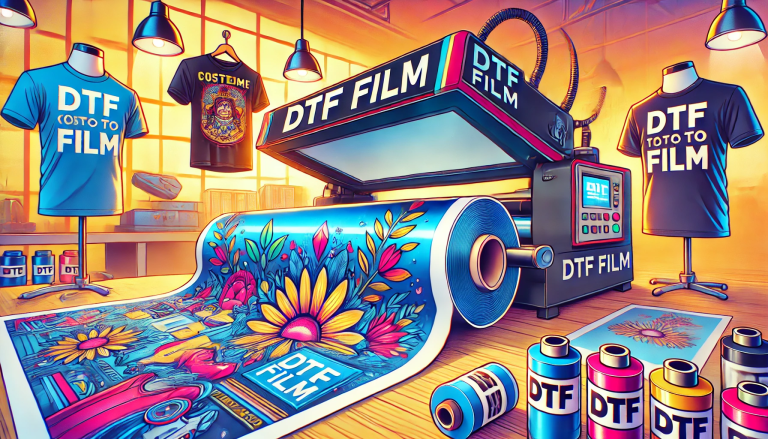
4. Applications of UV DTF Printing
UV DTF printing is incredibly versatile and finds applications in various industries, including:
- Promotional Items: Customizing promotional merchandise like pens, USB drives, and keychains.
- Decorative Products: Applying intricate designs to decorative glass, ceramics, and metal items.
- Signage and Displays: Producing vibrant and durable signs for both indoor and outdoor use.
- Custom Apparel: Although less common than other methods for fabric, UV DTF can be used for specialty clothing items where durability and resistance are required.
5. Choosing the Right Equipment and Materials
To get started with UV DTF printing, one needs the right equipment:
- UV DTF Printer: These are specifically designed to handle UV inks and include UV lamps for curing.
- UV Inks and Films: Quality UV inks and compatible PET films are crucial for achieving the best results.
- Software: Proper graphic design software and RIP software are needed to manage colors and print quality.
6. Challenges and Considerations
While UV DTF printing is powerful, there are considerations to keep in mind:
- Initial Investment: The upfront cost for UV DTF equipment and materials can be high.
- Maintenance: UV printers require regular maintenance to keep them running efficiently and to prevent issues with ink curing and adhesion.
- Learning Curve: There is a learning curve associated with mastering the printing process and understanding how to best use UV technology for different substrates.
Conclusion
UV DTF printing is a dynamic technology that offers broad possibilities across multiple industries due to its versatility, quality, and efficiency. As with any technology, understanding its capabilities and limitations is key to leveraging its benefits effectively. Businesses considering UV DTF printing should evaluate their specific needs, budget, and long-term goals to determine if this technology is the right fit.